New Car Owner's Quick Fixes For Bumper Repair

Unfortunately, bumper damage happens, and this is how you can fix it.
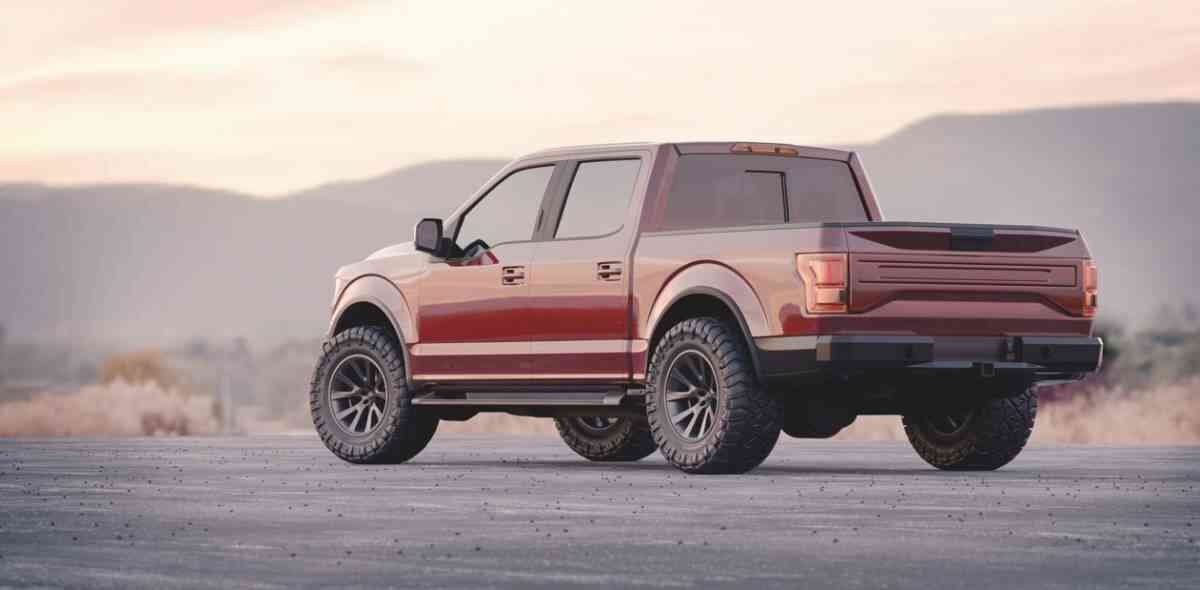
As a new car owner, keeping your vehicle in good condition can feel daunting. One issue that might seem particularly vexing is how to address bumper damage. Even a minor collision could require lengthy work at the body shop and cost you hundreds of dollars - but it doesn't have to be that way! In this post, we will discuss some quick fixes you can do yourself for common bumper repairs, saving time and money while ensuring your car looks its best. Read on for our top tips from experienced mechanics on fixing your bumpers like a professional!
Identify the Damaged Area
Inspect your car to determine the area needing repair and gather the necessary supplies.
After an accident, identifying the damaged area on your car may seem overwhelming. However, carefully inspecting your vehicle will help determine the exact location and type of bumper repair needed. Start by checking each section of the car for damage, including the body, windows, lights, and tires. Once you have identified the affected area, gather the necessary supplies and tools. While the process may seem daunting, your car can be back up and running in no time with a bit of effort and patience. Safety always comes first, so don't hesitate to seek professional help.
Measure and Cut a Replacement Patch
Measure the size of the damaged area and cut out a patch from a matching material, such as plastic or fiberglass.
When faced with a damaged area that needs patching, it's important to measure and cut accurately to ensure a seamless repair. First, take measurements of the damaged area using a tape measure or ruler. Once you have the dimensions, select a matching material, such as plastic or fiberglass, for the patch. Carefully cut out the patch using scissors or a utility knife, following your measurements precisely. With your new patch cut to size, you can confidently repair the damaged area, knowing that the patch will fit perfectly.
Clean the Damaged Area
Use a car wash detergent to clean up dirt or debris before you begin repairs.
Before beginning any repairs, it's important to ensure that the damaged area is clean and debris-free. A simple car wash detergent can work wonders in removing any dirt or grime that may have accumulated on the surface. By taking this extra step, you can ensure that your repairs will have a smoother surface to adhere to, giving them a better chance of lasting for the long haul. Plus, taking the time to clean the area will allow you to assess the damage and plan the best course of action moving forward. By being thorough and diligent in this step, you'll set yourself up for a successful repair job.
Apply an Adhesive Primer
This will help ensure your patch sticks properly to your car's surface.
When patching up your car's surface, it's important to do the job right the first time. One crucial step in the patching process is applying an adhesive primer. This primer helps create a strong bond between your patch and the surface of your car. Without it, your patch may not adhere properly and could peel away. So, take the extra time to apply the adhesive primer and ensure your patch sticks around for the long haul. Your car (and your wallet) will thank you.
Attach Your New Patch
Carefully attach your new patch over the damaged area using adhesive glue and let it sit for 24 hours before use.
Congratulations on receiving your new patch! It's time to carefully attach it over the damaged area using adhesive glue. This simple process can help extend the life of your favorite shirt or pants. It's important to give the patch enough time to fully adhere, so after applying the glue, let it sit for a full 24 hours before wearing or washing your garment. By taking this extra step, you can ensure your patch stays firmly in place and provides reliable coverage for a long time. Happy patching!
Paint & Finish Up
After letting your new patch dry for 24 hours, paint it with automotive paint to blend it into your car's exterior and finish up any other details, such as waxing or polishing for completion.
Congratulations! You've successfully patched up that unsightly ding on your car's exterior. Now comes the fun part - adding the finishing touches. Once your patch has fully dried for 24 hours, it's time to grab your automotive paint and start blending. With a steady hand and patience, your car will look like new in no time. And let's not forget about the little details - make sure to give your car a good wax and polish for that extra shine. You'll be cruising down the road in style in no time. Happy painting and finishing up!
You don’t need to be an experienced mechanic to repair your car. With simple tools and techniques, you can quickly get your car looking as good as new! Before you embark on any repairs, remember to take your car in for a full inspection by a professional to ensure that the damage hasn’t caused any long-term harm and is safe enough to drive. Taking these steps will ensure the safety of yourself and others on the road and leave you with peace of mind, knowing that any potential future issues have been addressed. So why wait? It’s time to start repairing the damaged area of your car now!

